
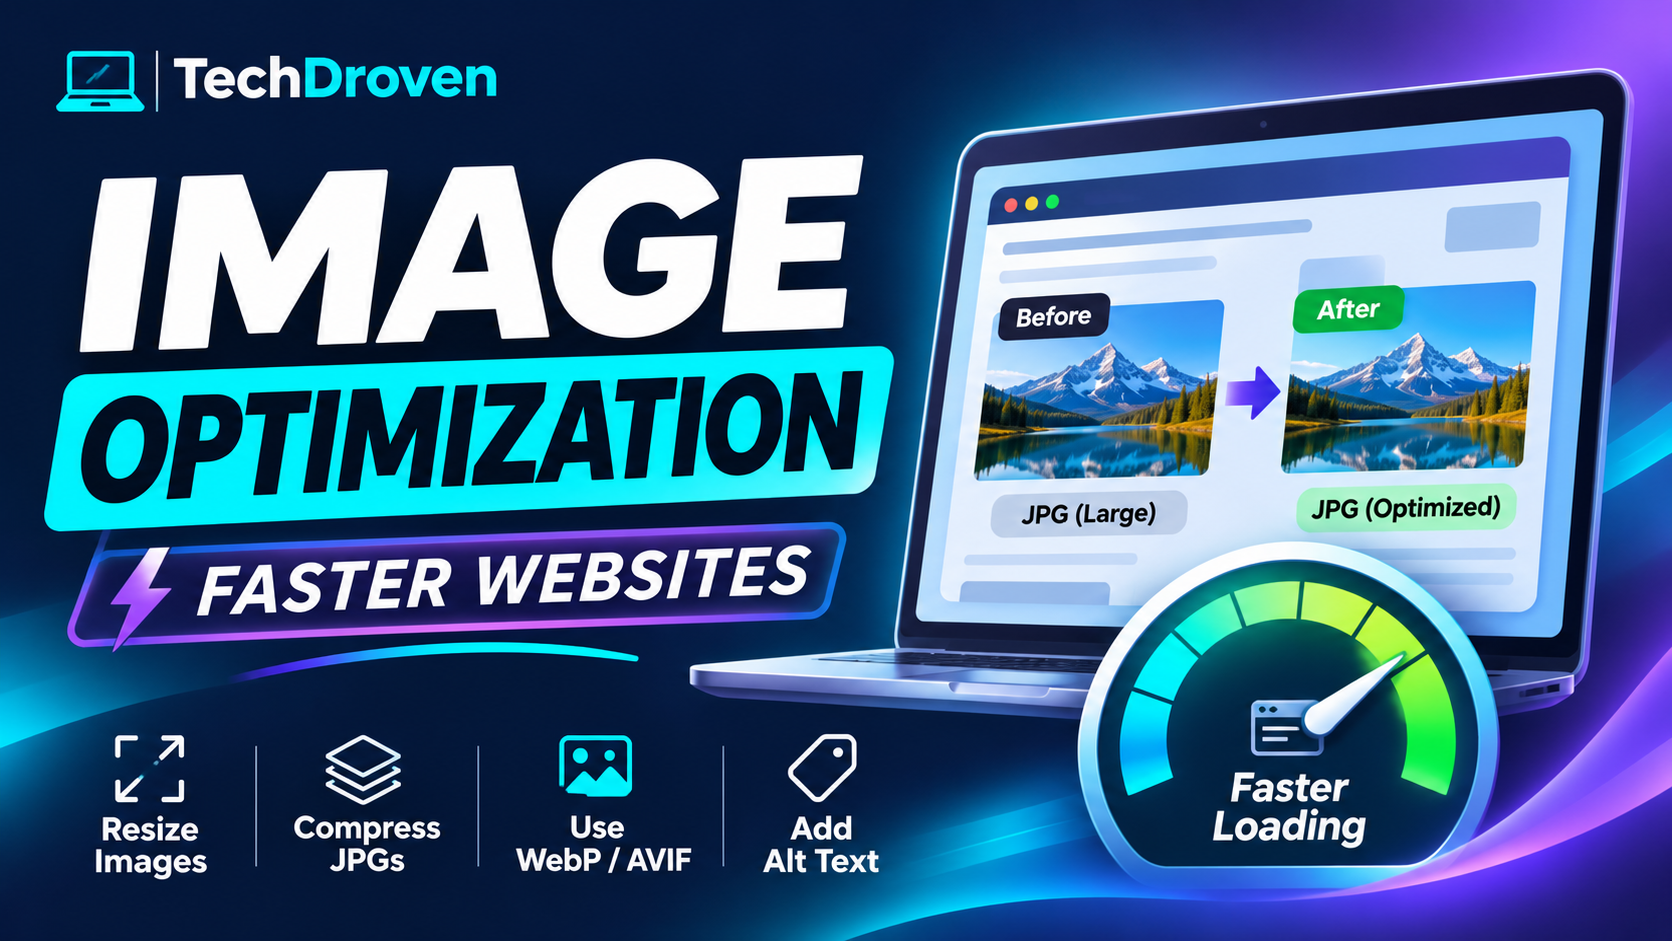
Why Image Optimization Matters for Faster Websites and a Better Digital Experience
A great website is about more than attractive design and well-written content. It also needs to perform smoothly, load quickly, and give visitors a reason to stay. While many website owners focus on hosting, themes, and technical improvements, one important factor is sometimes overlooked: image optimization.
Images make websites more engaging. They help explain complex ideas, showcase products, support tutorials, and give readers a break from large blocks of text. However, large image files can quietly slow down a website, especially when several appear on the same page. Finding the right balance between image quality and file size is therefore essential for anyone managing a website, blog, or online business. Tools such as Adobe Express’s JPG compressor make it easier to reduce image sizes without needing advanced editing knowledge.
Why Website Speed Should Be a Priority
Website speed has a direct influence on how people experience your content. Most visitors expect pages to load quickly, whether they are browsing from a desktop computer, tablet, or smartphone.
When a page takes too long to appear, people may leave before they have a chance to explore what you offer. This can affect everything from blog readership and product sales to newsletter subscriptions and customer enquiries.
Images are often responsible for a significant portion of a webpage’s total file size. A single high-resolution photograph might be several megabytes, and a page containing ten or fifteen similarly large images can quickly become unnecessarily heavy.
Reducing image file sizes helps limit the amount of data a browser needs to download. This can contribute to faster loading times, particularly for visitors using mobile networks or devices with limited processing power.
For technology-focused websites like TechDroven, where readers expect practical information and a smooth browsing experience, performance should be part of the overall content strategy.
Understanding Image Compression
Image compression is the process of reducing the amount of data required to store an image.
There are two main approaches:
Lossy compression: This method removes some image information to achieve smaller file sizes. When applied carefully, the visual difference may be difficult to notice. It is commonly used for photographs and everyday website images.
Lossless compression: This method reduces file size without permanently removing image information. It can be useful when preserving original image details is especially important, although the resulting files may not be as small as those produced through lossy compression.
Neither approach is automatically better. The right choice depends on the image, its intended use, and the level of quality required.
For example, a large background photograph on a technology blog may benefit from moderate lossy compression. A detailed diagram containing small labels and technical information may require a more careful approach to preserve readability.
How Large Images Affect User Experience
Imagine visiting a technology blog to read a guide about choosing a new laptop. The article contains several product photographs, screenshots, comparison graphics, and illustrations.
The content itself might be excellent, but if every image is unnecessarily large, the page can become slow and frustrating to navigate.
This creates several potential problems:
- Longer loading times: Visitors may have to wait before the page becomes usable.
- Increased mobile data usage: Large files consume more data, particularly for readers without unlimited plans.
- Poor browsing experiences: Slow-loading pages can interrupt reading and navigation.
- Higher resource demands: Browsers need to download and process more image data.
- Potential SEO disadvantages: Page experience and loading performance are among the factors worth considering when improving a website’s search visibility.
Image optimization is not a guaranteed shortcut to higher search rankings, but it is a practical part of building a faster, more accessible website.
Practical Ways to Optimize Images for a Blog
You do not need professional graphic design experience to improve the images published on your website. A few consistent practices can make a noticeable difference.
1. Resize Images Before Uploading
One common mistake is uploading photographs at their original camera resolution, even when the website only needs a much smaller version.
For instance, a photograph measuring 5,000 pixels wide may be unnecessary for an article section that displays images at approximately 900 pixels.
Resizing images to match their intended display dimensions can reduce file sizes considerably.
Before uploading, check the maximum image dimensions required by your website’s theme or content management system.
2. Compress Images Without Sacrificing Quality
Once an image has been resized, compression can reduce its file size further.
The goal is to make the file smaller while keeping it visually appealing. Excessive compression can introduce blurry details, visible artifacts, and unpleasant color changes.
A useful approach is to experiment with different compression levels and compare the results.
Look closely at important details, especially text, product edges, faces, and areas with fine textures. If the image still looks good at its intended display size, the compression is probably suitable.
3. Choose the Appropriate Image Format
Different image formats serve different purposes.
- JPG: A practical choice for photographs, featured images, and general website visuals.
- PNG: Useful for graphics, screenshots, illustrations, and images requiring transparency.
- WebP: Often provides smaller files than traditional formats while maintaining good visual quality.
- AVIF: A modern format that can deliver impressive compression efficiency, although compatibility should be considered when implementing it.
There is no need to use the same format for every image. Consider the type of visual content and how it will appear on your website.
4. Use Descriptive Image File Names
Image optimization is not just about technical performance. Organization and accessibility also matter.
Instead of uploading a photograph with a generic filename such as IMG_4582.jpg, choose something descriptive, such as laptop-workstation-setup.jpg.
Descriptive filenames help you organize your media library and provide useful context about an image.
They can also support image SEO by making it easier for search engines to understand the subject of the visual content.
5. Add Meaningful Alt Text
Alt text describes an image for visitors who use screen readers and provides additional context when an image cannot be displayed.
For example, an image showing a person working at a desktop computer could have alt text such as:
“Professional working at a desktop computer with two monitors.”
Keep descriptions accurate and natural. Avoid stuffing them with unrelated keywords or repeating information that does not help readers understand the image.
Building an Efficient Image Optimization Workflow
One of the easiest ways to maintain a fast website is to make image optimization part of your regular publishing routine.
Rather than uploading images immediately after downloading them, follow a simple preparation process.
Step 1: Select the right image. Choose visuals that genuinely support the article instead of adding images simply to fill empty space.
Step 2: Check the dimensions. Resize the image according to the space it will occupy on the webpage.
Step 3: Reduce the file size. Apply suitable compression while maintaining acceptable visual quality.
Step 4: Rename the file. Use a short, descriptive filename that reflects the image’s content.
Step 5: Add alt text. Write a useful description that improves accessibility.
Step 6: Preview the published page. Check how the image appears on desktop and mobile screens.
Following these steps consistently can prevent an unnecessarily large media library and make website management easier over time.
Common Image Optimization Mistakes to Avoid
Even experienced website owners sometimes overlook small details that affect image performance.
One frequent mistake is compressing an image repeatedly. Each additional lossy compression can reduce visual quality, so it is generally better to work from the original file and create one optimized version.
Another mistake is focusing entirely on file size. An image that loads quickly but looks noticeably blurry does not create a good impression. Visitors should not have to sacrifice visual clarity for website speed.
It is also worth avoiding unnecessary images. Every additional visual asset adds to the resources a webpage needs to load. Before publishing, consider whether each image contributes something meaningful to the article.
Finally, remember that compression is only one part of website performance. Reliable hosting, browser caching, efficient themes, content delivery networks, and well-maintained plugins can all contribute to a smoother experience.
Why Consistency Makes the Biggest Difference
Optimizing one image can improve an individual webpage, but applying the same principles across an entire website creates more meaningful long-term benefits.
Consider a technology blog publishing several articles every week. Each article might include screenshots, featured photographs, product images, and instructional graphics. Without a consistent process, the media library can quickly become filled with oversized files.
Establishing simple image guidelines helps prevent this problem.
Set reasonable maximum dimensions, choose preferred formats, maintain consistent visual quality, and review older content periodically. Updating large images on popular articles can also be worthwhile, especially when those pages attract regular visitors.
The result is a website that is easier to maintain and better equipped to provide a positive browsing experience.
Conclusion
Image optimization is one of the simplest yet most valuable improvements website owners can make. By resizing images appropriately, reducing unnecessary file sizes, choosing suitable formats, and maintaining good publishing habits, you can create a faster and more enjoyable experience for visitors.
For a technology-focused platform like TechDroven, these small improvements support a bigger goal: delivering useful content through a website that works as smoothly as readers expect.