
GPU Artifacting: Causes, Warning Signs, and Fixes
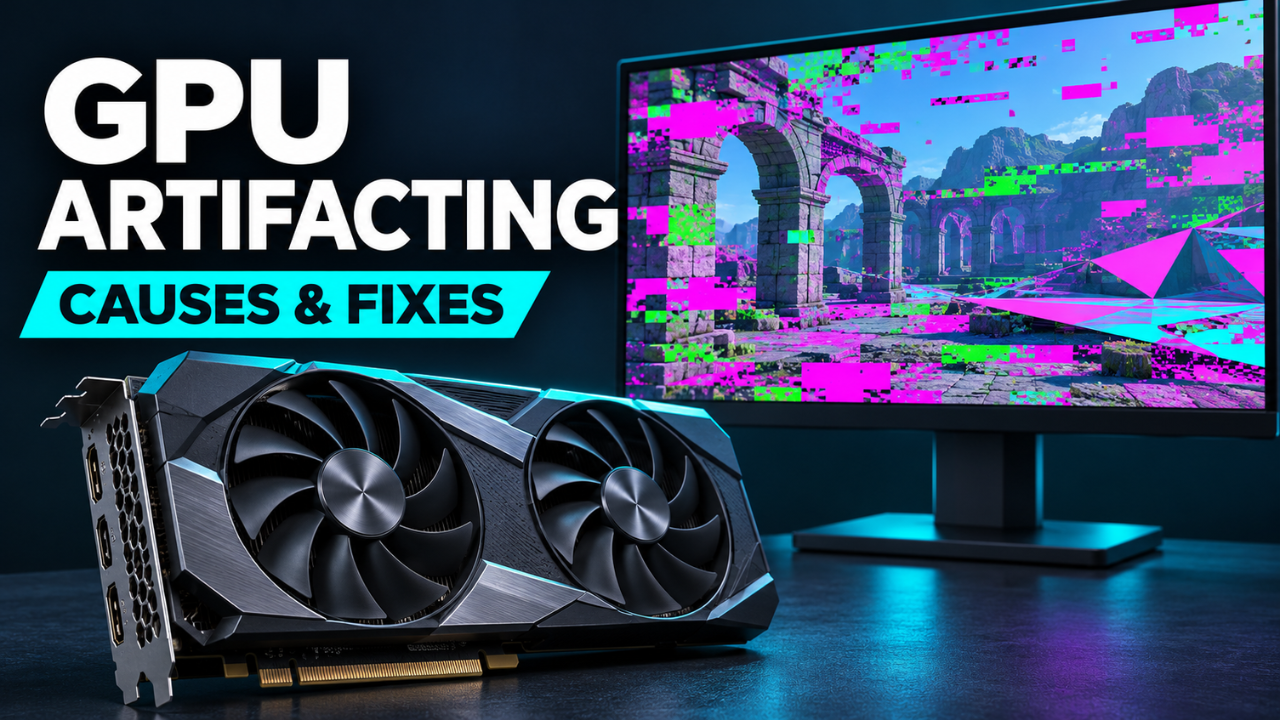
A few green dots appear across your game. Then a wall stretches into a giant triangle, or coloured blocks flash over the desktop. It’s the sort of problem that makes you immediately check graphics card prices.
Hold off on that for a moment.
GPU artifacting can point to failing hardware, but unstable settings, driver problems, and display connections can produce similar symptoms. The useful question is what triggers the corruption—and whether it follows the graphics card when you change something.
Table of Contents
- What GPU artifacting actually looks like
- Pay attention to when it happens
- Rule out the screen and cable first
- Put your graphics settings back to normal
- Give the driver a proper check
- Check temperatures without chasing a magic number
- Test carefully and look for repeatable results
- Know when it’s time for repair or replacement
What GPU artifacting actually looks like
GPU artifacting describes visual errors associated with graphics processing. You might see flickering coloured squares, sparkling dots, broken textures, strange lines, or objects that stretch across a scene.
Sometimes the problem is obvious. A character’s face becomes a patchwork of colours. Other times, it’s a handful of flashes that disappear before you can take a photo.
The appearance alone won’t identify the faulty part. People often blame video memory, or VRAM, whenever they see coloured blocks. Memory instability is one possibility, but those blocks aren’t a reliable diagnosis by themselves.
There’s also a difference between corruption and ordinary screen tearing. Tearing looks like horizontal splits where portions of different frames appear together, especially during movement. It doesn’t, by itself, mean your graphics card is failing.
Likewise, a few permanently stuck pixels in the same position may belong to the display. Calling every screen defect “artifacting” can send troubleshooting in the wrong direction.
Pay attention to when it happens
Before changing anything, note what you were doing when the problem appeared.
Does it happen in one game, across several games, or while browsing? Did it start immediately after an update? Does the picture look normal for twenty minutes before breaking up?
Say a game develops shimmering textures after a patch, while everything else works normally. That pattern makes the game, its settings, or a driver interaction sensible places to investigate first.
Corruption across unrelated applications deserves broader testing.
Watch the startup screen, too. If glitches appear on the motherboard logo or inside the BIOS, a Windows graphics driver can’t explain that particular occurrence. That shifts attention towards hardware and the display connection, although it still doesn’t identify the graphics card conclusively.
These are clues, not verdicts. Write them down. A short note about the trigger is more useful than remembering that the computer “looked weird yesterday”.
Rule out the screen and cable first
Start with the parts that are easiest to swap.
Reconnect the display cable securely, then try a known working HDMI or DisplayPort cable. Test another port where available. If you use an adapter, dock, or extension, try a direct connection.
A second monitor or television can help. If the original screen shows coloured speckles but another display works correctly, investigate the original screen and its connection before buying a graphics card.
Temporarily lowering the refresh rate is another comparison worth making. Improvement suggests the display connection or mode needs attention; it doesn’t prove which component is responsible.
If your monitor has built-in diagnostics, follow its manual. These tests can display patterns independently of the computer. Defects visible during that test point towards the monitor itself. Dell recommends built-in diagnostics for abnormalities including distortion and horizontal or vertical lines.
Make one change at a time. Swapping the cable, reinstalling a driver, and changing several settings together might fix the problem, but you won’t know which change mattered.
Put your graphics settings back to normal
If you’ve overclocked the GPU or its memory, restore the default settings. Remove any undervolt as well. Settings that seemed stable in one workload may fail in another.
Use your tuning software’s reset function, restart, and check that it hasn’t automatically reapplied the old profile.
Don’t increase voltage to chase away artifacts. The immediate goal is to see whether the card works correctly at its normal settings.
AMD’s stability guidance recommends establishing a stock configuration before investigating further. If restoring GPU defaults doesn’t help and you’ve also tuned the CPU or system memory, those changes deserve separate checks.
Here’s the thing: “it passed a benchmark last month” doesn’t establish that today’s settings are stable. Repeat the workload that actually showed the problem.
Give the driver a proper check
Drivers are a sensible next step, especially when the timing points towards an update.
Download the appropriate driver from the GPU maker or your computer manufacturer. On a laptop, check the manufacturer’s guidance first, particularly if it switches between integrated and dedicated graphics.
If a normal reinstall doesn’t help, follow the vendor’s clean-install instructions. Intel’s guidance for certain graphics artifact problems includes uninstalling and reinstalling the graphics driver.
When corruption begins immediately after installing a new driver, trying the previous known working version is reasonable. Check release notes for the affected game or application, too. AMD explicitly recommends checking known driver issues and considering an earlier version when appropriate.
For a problem confined to one game, verify its files and temporarily remove mods or overlays. Test those changes individually.
I’d avoid reinstalling the whole operating system at this stage. It’s a lot of disruption when a much narrower comparison may reveal the cause.
Check temperatures without chasing a magic number
Heat becomes more suspicious when the picture starts clean and deteriorates as a game runs. Still, that pattern alone doesn’t prove overheating.
Monitor temperatures during the workload that causes trouble. Compare readings with guidance for your particular GPU and card model. There isn’t one universal temperature limit: NVIDIA’s specifications list different maximum GPU temperatures across models.
Check which sensor you’re reading, too. GPU temperature, hotspot temperature, and memory junction temperature describe different measurements. Not every card exposes all three.
Look for obstructed vents, clogged filters, and dust around the cooler. Check whether fans respond under load; fans stopping while the card is idle can be normal.
Shut down and disconnect power before cleaning, and follow the manufacturer’s instructions. ASUS identifies GPU or memory heat and dust affecting cooling as possible causes of abnormal graphics output.
A normal core temperature doesn’t clear every component. Avoid treating one reassuring reading as a complete health check.
Test carefully and look for repeatable results
Once you’ve checked connections, settings, drivers, and cooling, compare a couple of different workloads.
Try another game and, if the system remains stable enough, a short supervised graphics test. A tool such as OCCT provides separate GPU and VRAM tests with error detection.
Start conservatively. Stop if corruption becomes severe, temperatures exceed the manufacturer’s guidance, or the system repeatedly crashes. There’s little value in running an already malfunctioning card overnight.
Errors provide evidence of instability under those conditions. They don’t automatically identify a specific failed memory chip. Equally, one clean test doesn’t guarantee the card is healthy.
A hardware swap can provide stronger evidence. A technician can test the suspect card in a compatible, known working system or install a working card in yours.
The power supply and connections matter here, too. Before handling internal parts, shut down, disconnect power, and consult the hardware manuals. If you’re unfamiliar with installing graphics cards, get help with this step.
The aim is a repeatable comparison, not the biggest collection of benchmark scores.
Know when it’s time for repair or replacement
Hardware failure becomes more likely when corruption persists at default settings, across several applications, with a known working screen and cable.
If the same card also reproduces the problem in another compatible system, that’s much stronger evidence than a single screenshot.
Integrated graphics need slightly different thinking. Many use system RAM rather than separate video memory, so memory instability can also enter the investigation. Intel explains this shared-memory arrangement for its integrated graphics.
For warranty support, collect photos, the card model, driver version, and a brief record of your checks. Clear evidence helps support staff reproduce the fault.
Outside warranty, compare a qualified repair quote with the cost of a suitable replacement. Don’t count reduced clocks that hide the symptoms as proof of a lasting repair.
GPU artifacting is unsettling, but a methodical approach helps. Start with the easy comparisons, change one thing at a time, and let repeatable results guide your next move. You’ll have a better chance of fixing the actual problem—and a clearer case for replacement if the card really has failed.